
Step 1: Connect Your Gmail Account
- Head over to Emailgurus.xyz and log in (or sign up if you’re new).
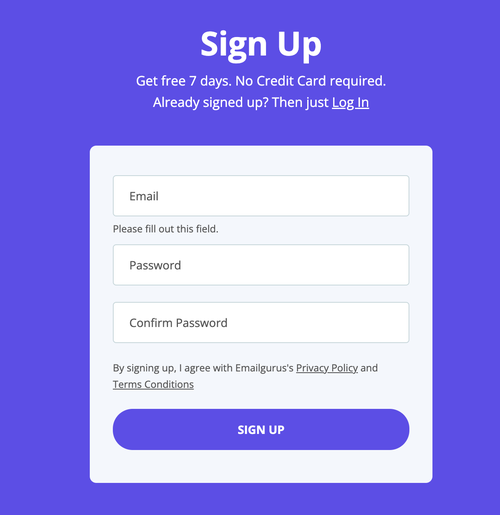
- Connect your Gmail account by following the prompts to grant permissions.
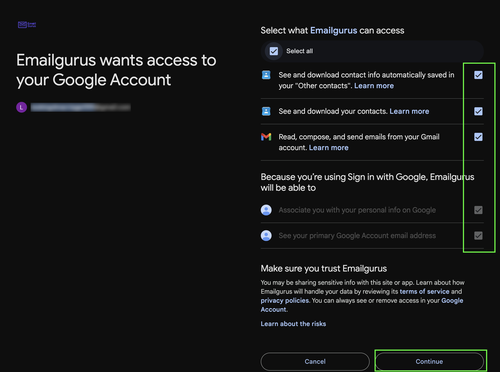
- Once the account is connected and completed the onboarding, you will land on the dashboard page

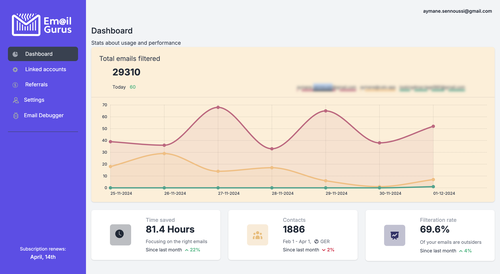
- Head to your Linked accounts page and select the settings on your linked account:
Step 2: Enable “Use Contact Labels”
- After connecting your Gmail account, go to the Settings page of that account in Emailgurus.
- Look for the option Use contact labels. Toggle it on.
Step 3: Save and Resync Contacts
- Hit Update to confirm your settings.
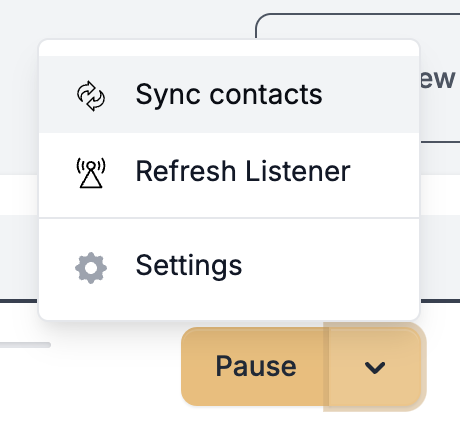
- Next, find the “Sync contacts”
- Click Sync contacts to import the most up-to-date data from your Google Contacts.
Step 4: Choose Labels to Import
- Once the sync is complete, you’ll see a list of labels from your Google Contacts.
- Select the labels you want to import into Emailgurus.
- These labels will then appear in your Emailgurus interface.
Step 5: Enjoy Auto-Labeling
With everything set up, any future emails from contacts with those labels in Google Contacts will automatically carry the same label in Emailgurus. This saves you from manually categorizing important messages, letting you quickly identify them in your inbox.
That’s it! You’ve set up contact-based email labeling. Now you can focus on your work instead of playing the endless labeling game. If you ever adjust your labels in Google Contacts, remember to resync in Emailgurus so everything stays up to date.
Have questions? Let us know in the comments below, or reach out to our support team at Emailgurus.xyz. Happy labeling!