How to Filter Emails from Unknown Senders Using Emailgurus
Tired of dealing with emails from unknown senders cluttering your inbox? Emailgurus has your back! Follow these simple steps to take control of your email like never before.
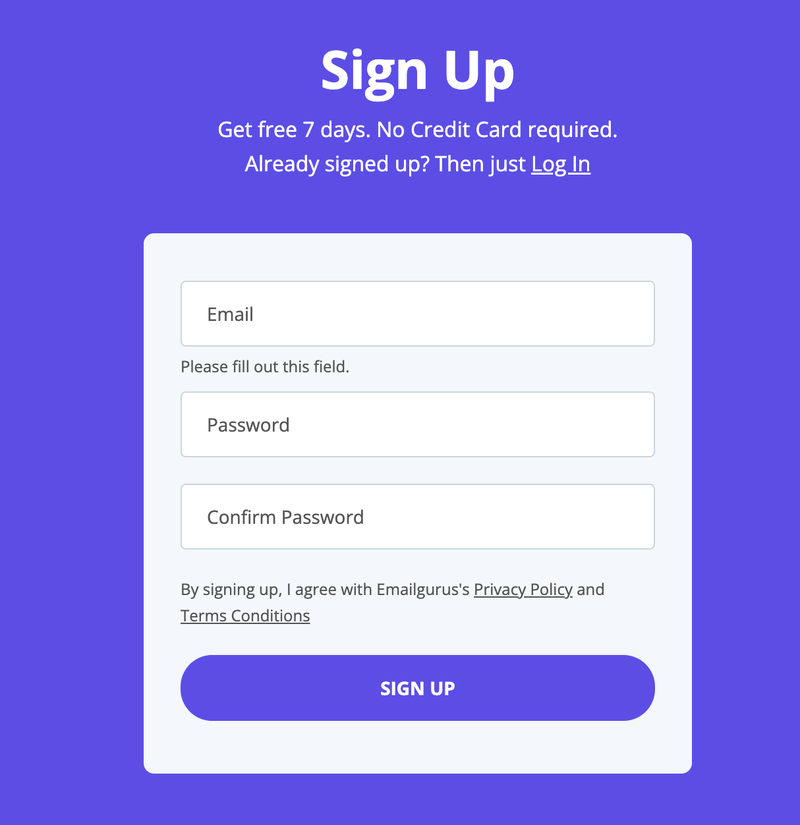
Step 1: Create an Account
Start by signing up for Emailgurus. It’s quick and easy—just head to our homepage, click on Sign Up, and fill in your details.
Step 2: Link Your Email Account
Once your account is set up, the next step is linking your email account. Click on Link Account and follow the prompts to connect your Gmail, Outlook, or other email service.
📢 Important: During this step, you’ll need to accept all access permissions. Don’t worry—we need these to work our magic! This includes importing your contact list so we can accurately identify and filter emails.
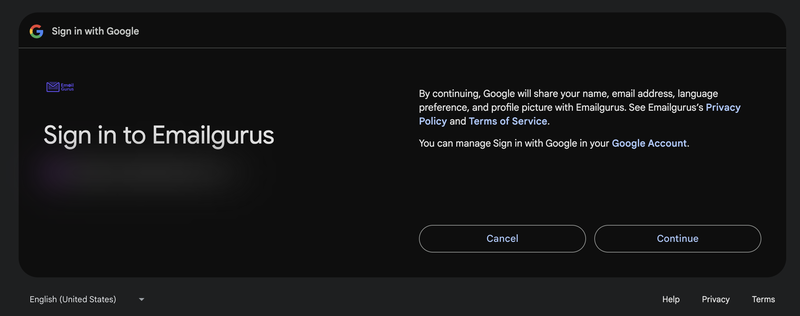
Click continue to land on this page:
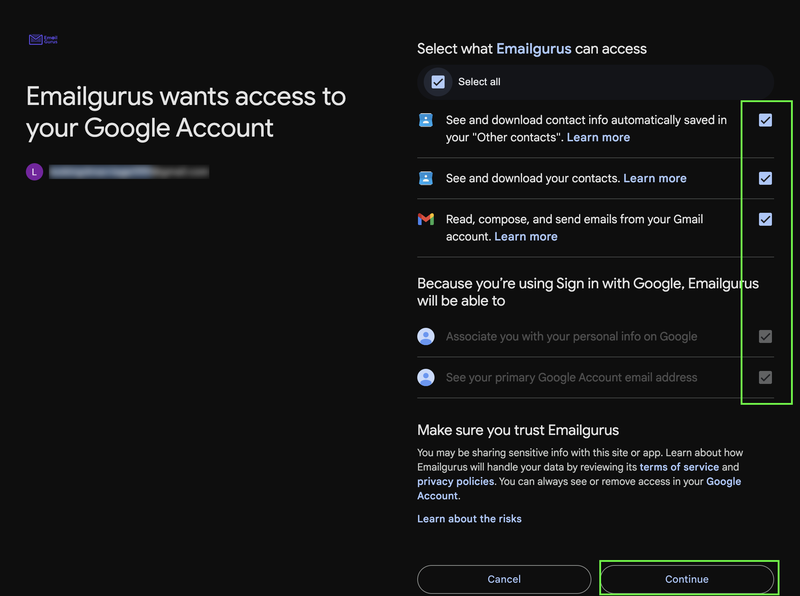
Now, it is very important that you grant access to all scopes.
The contact scope will pull all your contacts (In a hashed format for your privacy).
The modify scope will allow the software to archive and label the outsider emails correctly.
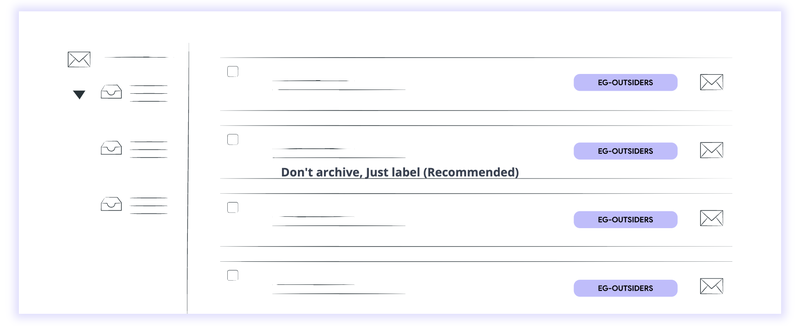
Then, you will be prompted to choose:
Archive Emails from unknown senders
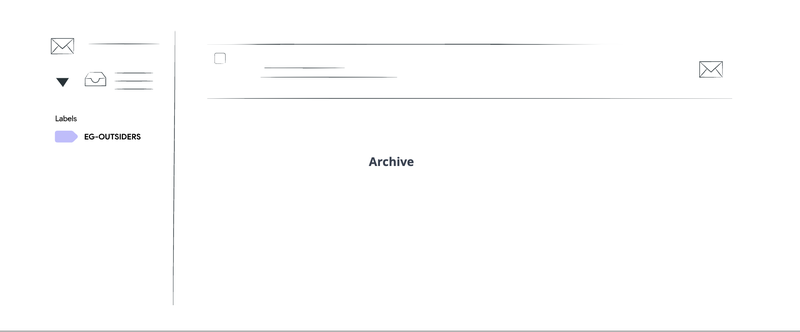
Or
Do not Archive :Only Label them (Default option)
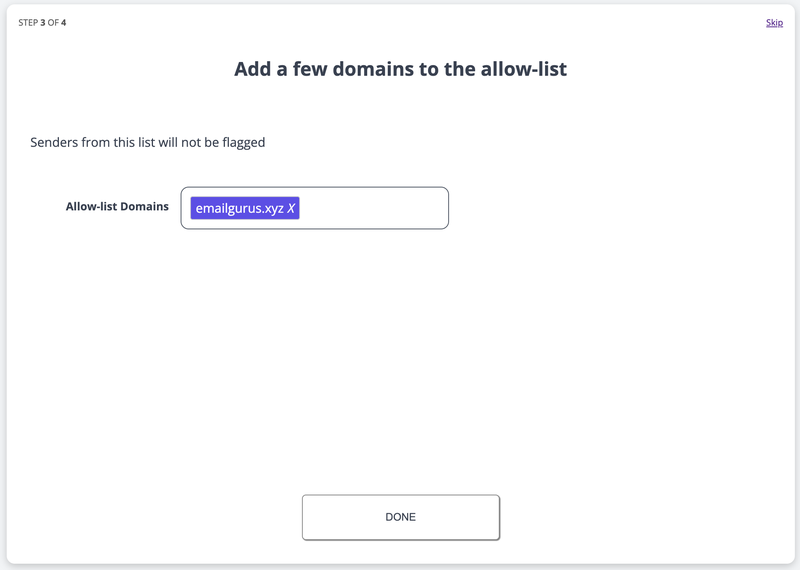
Finally, you can add an allow-list domain to not label as `outsiders` any email from these domains.
If you are using your work email, the domain of your work will be automatically added to the allow-list
Step 3: You’re All Set!
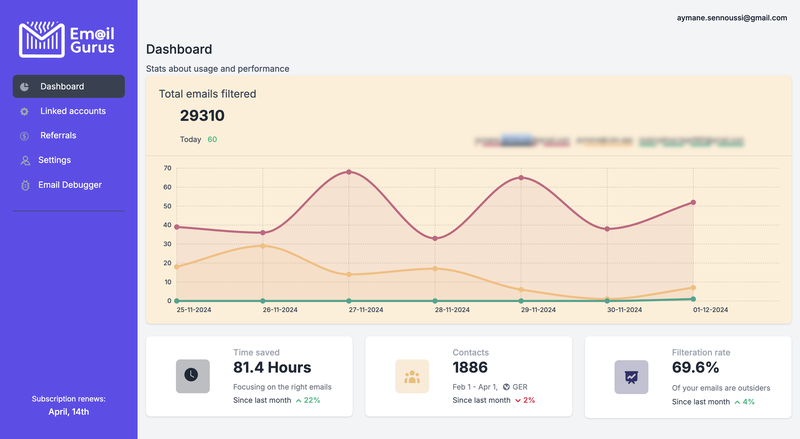
That’s it! Once your account is linked, Emailgurus will start filtering emails from unknown senders automatically. You don’t have to lift a finger—just enjoy a cleaner inbox.
Customization Options
Want to tweak the way Emailgurus works? We’ve got you covered. Check out our Customization Guide for tips on making Emailgurus work exactly the way you want.
That’s all it takes! Say goodbye to inbox clutter and hello to email peace of mind with Emailgurus.

